Creating a GPU from scratch, following Nvidia CUDA’s design, took only two weeks.
Starting from the basics of learning about chips.
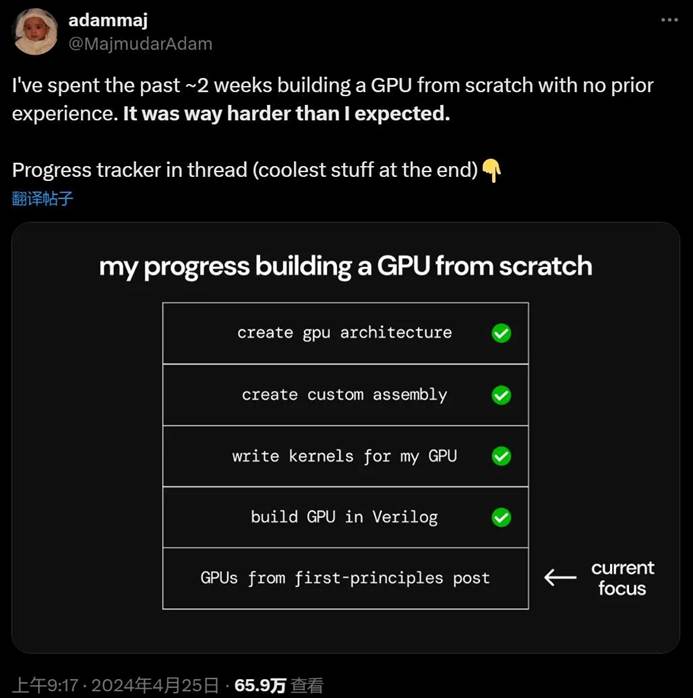
Recently, Adam Majmudar, one of the founding engineers of a U.S. web3 development company, shared his successful experience with building a GPU by hand, which won a lot of praise from netizens. Surprisingly, he completed this intellectual feat in just two weeks. In the thread on Twitter/X, Majmudar live-streamed, taking us through the entire process step by step.
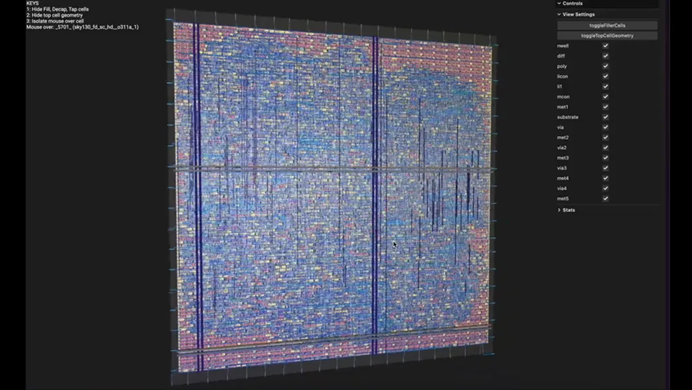
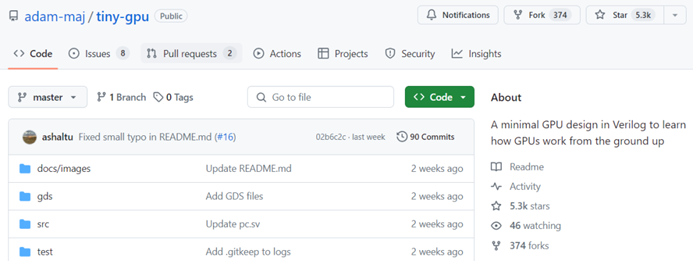
It should be clear that the current stage of this project is the chip layout in Verilog, which was eventually verified through the OpenLane EDA software. After this, the GPU will be sent for tape-out through Tiny Tapeout 7, and is thus destined to become a physical chip in the coming months.
He first began trying to understand the GPU software model by learning Nvidia’s CUDA framework, leading to an understanding of the single instruction, multiple data (SIMD) programming pattern used for writing GPU programs (known as kernels).
With this background, Majmudar began deeply learning about the core components of a GPU: from global memory, computation cores, hierarchical caches, memory controller to program scheduling.
Then, within each compute core, we also need to understand the key units: including registers, local/shared memory, load/store units (LSU), compute units, schedulers, fetchers, and decoders.
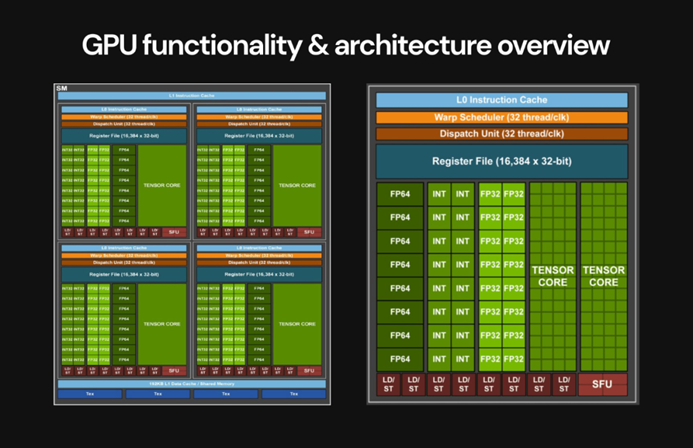
Here, Majmudar notes that due to the high complexity, we must simplify the GPU to a level that a novice can design, otherwise the project timeline will explode.
Next is creating your own GPU architecture. Our goal is to create a minimal GPU that highlights the core concepts of the GPU and eliminates unnecessary complexity so that others can more easily understand the GPU.
Majmudar says designing your own GPU architecture is an incredibly practical experience.
He learned and operated at the same time, then decided to emphasize the following points in the design:
-
Parallelization – Implementing the SIMD pattern in hardware; -
Memory access – Observing how the GPU addresses the challenge of accessing large amounts of data from slow and bandwidth-limited memory; -
Resource management – Maximizing resource utilization and efficiency.
The design can be deemed as keeping pace with the times.
 Everything here is in its simplest form.
Majmudar stated that one of the most critical factors is that his GPU can actually execute kernels written in the SIMD programming model. To achieve this, it is necessary to design his own instruction set architecture (ISA) for the GPU to write kernels. He made his own 11 small instructions ISA inspired by the LC4 ISA. After that, he wrote some simple matrix math kernels as a proof of concept.
 This is the complete table of the ISA proposed by Adam Majmudar, which includes the exact structure of each instruction.
 The kernels written for matrix addition and multiplication.
Initially, he implemented the global memory as SRAM. Feedback indicated that this contradicted the purpose of building a GPU – the biggest design challenge of a GPU is managing access to asynchronous memory (DRAM) with limited bandwidth.
Therefore, Majmudar eventually rebuilt the design using external asynchronous memory, and finally realized that a memory controller also needed to be added.
Initially, Majmudar used a warp-scheduler to implement the GPU, which was a big mistake. It was too complicated and unnecessary for the project. Fortunately, George Hotz provided timely feedback. At first, Majmudar did not have enough background knowledge to fully understand the feedback, so he spent a lot of time trying to build a Warp scheduler before he realized this.
Moreover, Majmudar did not correctly implement the scheduling in each core in his initial design, so he had to go back and incrementally design the core execution to achieve the correct control flow.
Ultimately, the third rewrite of the code by Majmudar met the goal and fixed the execution scheduling of the cores.
 This is the execution process of a single thread in a GPU built with Verilog, its execution method is very similar to that of a CPU.

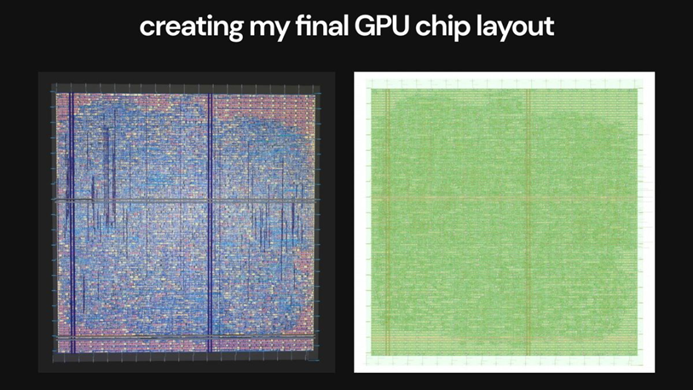
After two weeks of efforts, the 3D visualization of Majmudar’s GPU design is shown in the figure below:

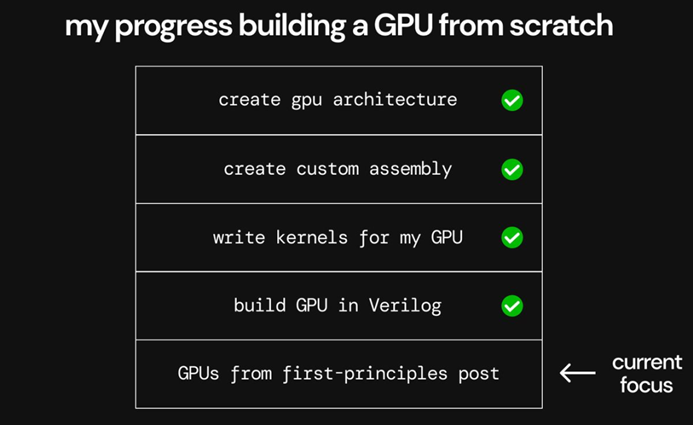
Speaking of how to achieve “hand-crafted chips,” Majmudar summarized it into five main steps:
In the circle of engineers, people occasionally try “hand-crafting chips” to understand the basics of chip architecture in the most hardcore way. However, in the past, most people would attempt CPUs due to their difficulty.
In 2020, the University of Chinese Academy of Sciences announced the results of the first “One Life, One Core” initiative, which sparked hot discussions. This program was the first domestic initiative with tape-out as the goal. It was led by five undergraduate students from the class of 2016 to complete the design and tape-out of a 64-bit RISC-V processor SoC chip.
This project also caught the attention of Professor David Patterson, one of the founders of the RISC architecture and a Turing Award laureate.

Perhaps after the precedent of hand-crafted GPUs appears, we will see more and more powerful homemade chip practices.
